Imagine a world where every device in your home or office could seamlessly connect to the internet without conflict or confusion. This is made possible through the magic of private IP addresses like 192.168.1.10. This specific address plays a critical role in local networks, enabling devices to communicate efficiently and securely within a closed system. Whether you're managing a small home network or a large corporate setup, understanding how 192.168.1.10 operates can help you troubleshoot issues, enhance security, and optimize performance.
At its core, 192.168.1.10 is part of the private IPv4 address range, reserved specifically for internal use within local networks. Unlike public IP addresses, which are visible on the internet, private IPs like 192.168.1.10 ensure that devices within a network can communicate without exposing their identity to the outside world. This is particularly important for maintaining security and avoiding conflicts with other networks. For example, if you’re assigning static IPs to devices such as printers, smart TVs, or IoT devices, 192.168.1.10 could be one of the addresses you use to streamline communication.
While it may seem like just another number in a sea of technical jargon, 192.168.1.10 holds immense potential for anyone looking to master the basics of networking. From troubleshooting connectivity issues to setting up advanced configurations, this IP address is a cornerstone of modern networking. In this article, we’ll delve deep into its functionality, explore its role in local networks, and provide actionable insights to help you make the most of it. Whether you're a beginner or a seasoned IT professional, there’s something here for everyone.
Read also:
Table of Contents
- What is 192.168.1.10 and How Does It Work?
- Why is 192.168.1.10 Important for Your Local Network?
- How to Configure 192.168.1.10 on Your Router?
- Can 192.168.1.10 Be Used for Advanced Networking?
- What Are the Common Issues with 192.168.1.10?
- How to Troubleshoot Problems Related to 192.168.1.10?
- Is 192.168.1.10 Secure for Your Network?
- Frequently Asked Questions About 192.168.1.10
What is 192.168.1.10 and How Does It Work?
Before diving into the technicalities, let’s break down what 192.168.1.10 actually is. This IP address is part of the private IPv4 address range, specifically within the 192.168.x.x block. These addresses are reserved by the Internet Assigned Numbers Authority (IANA) for private use, meaning they are not routable on the public internet. Instead, they are used exclusively for internal communication within local networks.
When you assign 192.168.1.10 to a device, it becomes identifiable within your local network. For instance, if you have a router with the default gateway set to 192.168.1.1, devices like computers, smartphones, and smart home gadgets can be assigned addresses like 192.168.1.10, 192.168.1.11, and so on. This hierarchical structure ensures that each device has a unique identifier, preventing conflicts and enabling smooth communication.
But how does it work in practice? Let’s say you’re trying to print a document from your laptop. If your printer is assigned the IP address 192.168.1.10, your laptop sends a request to this address. The router, acting as the network’s traffic controller, ensures the request reaches the correct device. This process happens in milliseconds, making it seem instantaneous to the user.
How Does 192.168.1.10 Differ from Other Private IPs?
While all private IPs serve a similar purpose, 192.168.1.10 has its own unique role. Unlike dynamic IPs that change frequently, 192.168.1.10 is often used as a static IP for devices that require consistent access, such as servers or network-attached storage (NAS) devices. This ensures that these devices are always reachable at the same address, simplifying network management.
Key Characteristics of 192.168.1.10
- Part of the private IP range (192.168.x.x).
- Non-routable on the public internet.
- Commonly used for static IP assignments.
- Facilitates seamless communication within a local network.
Why is 192.168.1.10 Important for Your Local Network?
Now that we’ve covered the basics, let’s explore why 192.168.1.10 is so crucial for your local network. One of its primary advantages is its ability to simplify device management. By assigning this IP to a specific device, you ensure that it remains accessible at all times. This is particularly useful for devices that perform critical functions, such as printers, security cameras, or smart home hubs.
Another reason 192.168.1.10 is important is its role in network segmentation. By assigning specific IPs to different devices, you can create logical groupings that enhance both performance and security. For example, you might assign 192.168.1.10 to a server and restrict access to it, ensuring that only authorized devices can communicate with it.
Read also:
Finally, using 192.168.1.10 as a static IP can improve network reliability. Dynamic IPs, which are assigned automatically by the router, can change over time. This can lead to connectivity issues if a device’s IP changes unexpectedly. By using a static IP like 192.168.1.10, you eliminate this risk, ensuring consistent performance.
What Are the Benefits of Using 192.168.1.10?
Here are some of the key benefits:
- Enhanced device accessibility.
- Improved network security through segmentation.
- Reduced risk of IP conflicts.
- Simplified troubleshooting and management.
How to Configure 192.168.1.10 on Your Router?
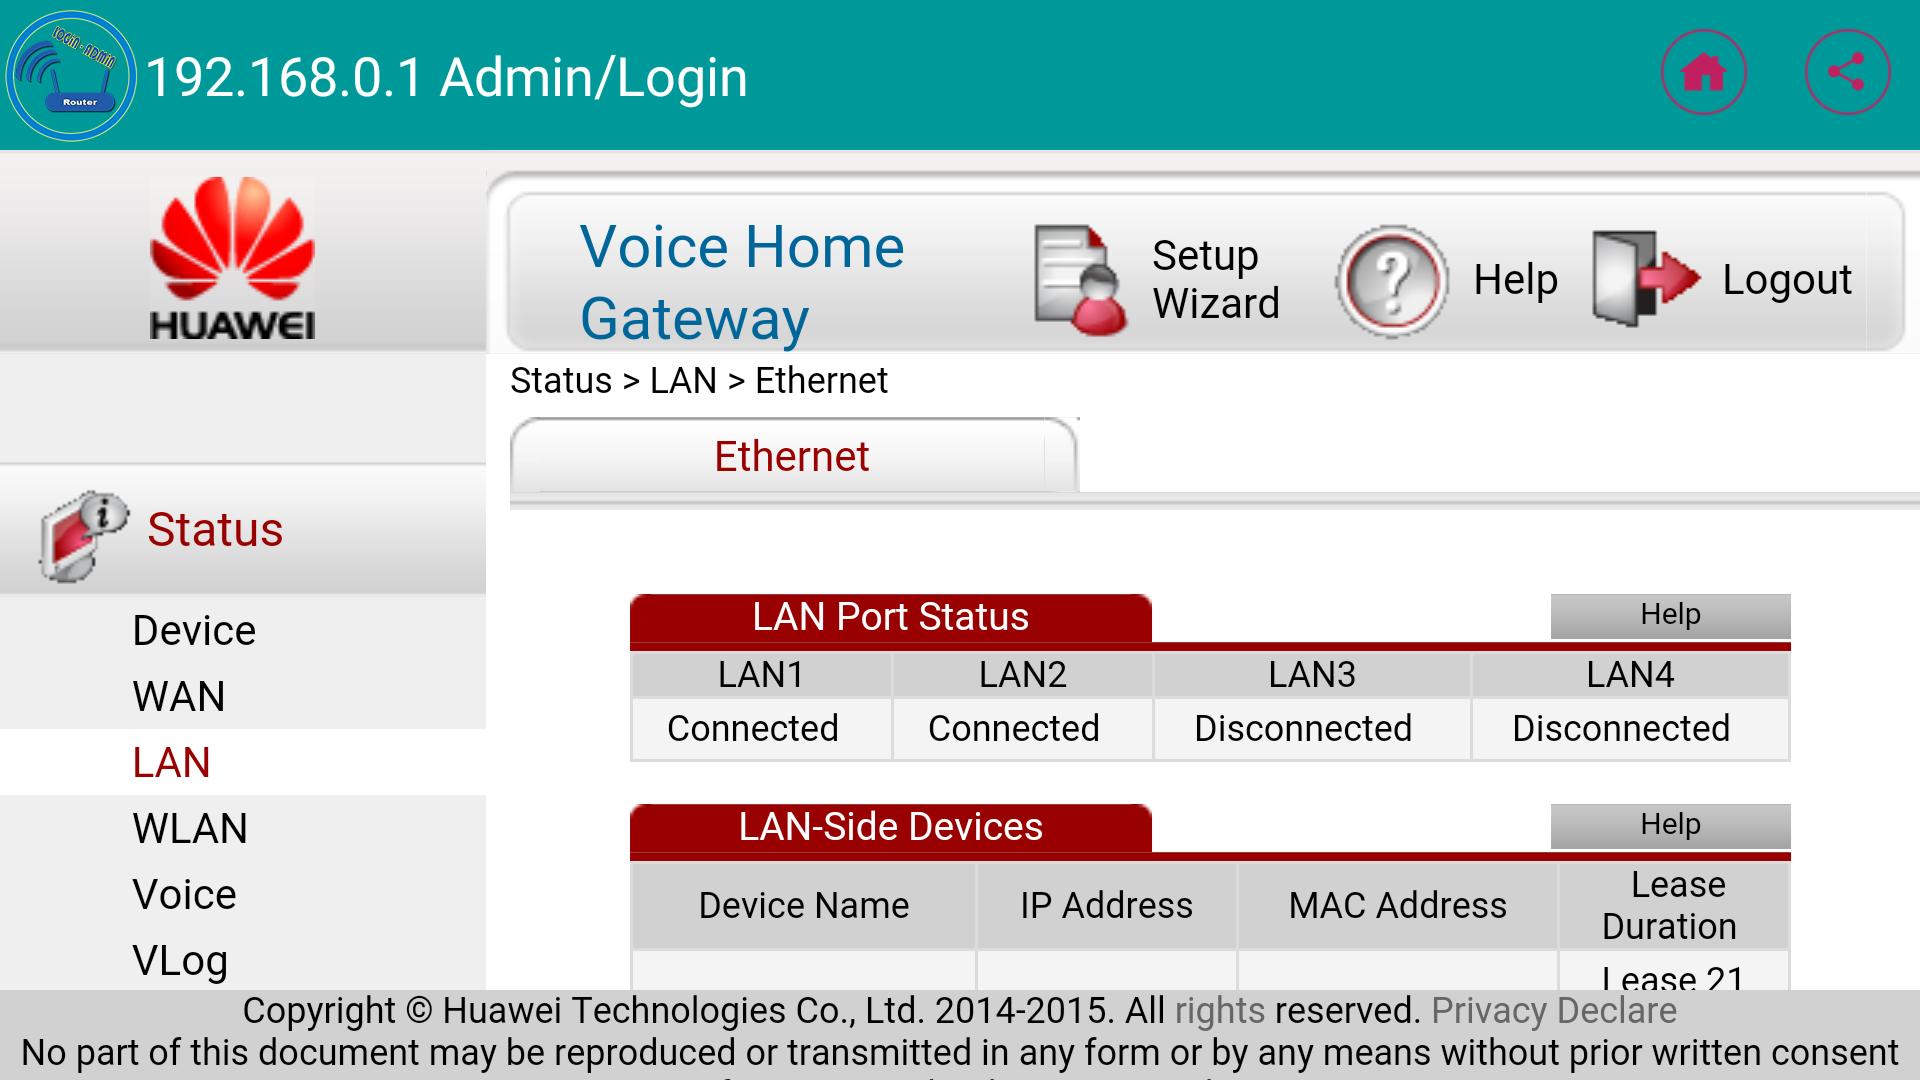
Configuring 192.168.1.10 on your router is a straightforward process, but it requires some technical know-how. First, you’ll need to access your router’s admin panel. This is usually done by entering the router’s default gateway (often 192.168.1.1) into your web browser. From there, you can navigate to the DHCP settings or static IP configuration section.
Once you’re in the configuration panel, locate the option to assign static IPs. Here, you can specify which devices should receive the IP address 192.168.1.10. Make sure to save your changes and restart the router to apply the new settings. Afterward, the device you assigned the IP to should be reachable at 192.168.1.10.
Why Should You Assign 192.168.1.10 Manually?
Manual assignment ensures that the device always has the same IP, which is crucial for devices like servers or printers that need to be consistently accessible. It also reduces the risk of IP conflicts, which can occur when two devices are assigned the same IP dynamically.
Steps to Assign 192.168.1.10
- Access your router’s admin panel.
- Navigate to the DHCP or static IP settings.
- Assign 192.168.1.10 to the desired device.
- Save changes and restart the router.
Can 192.168.1.10 Be Used for Advanced Networking?
For those looking to take their networking skills to the next level, 192.168.1.10 can be a powerful tool. It can be used in conjunction with advanced networking techniques like port forwarding, VLANs, and subnetting to create a more robust and secure network.
For example, you could use 192.168.1.10 as the gateway for a VLAN dedicated to IoT devices. This would isolate these devices from the rest of your network, reducing the risk of unauthorized access. Similarly, port forwarding can be configured to allow external access to a server or device assigned this IP.
What Advanced Configurations Can Be Achieved with 192.168.1.10?
Here are some possibilities:
- Setting up a dedicated VLAN for IoT devices.
- Configuring port forwarding for remote access.
- Implementing subnetting to improve network efficiency.
What Are the Common Issues with 192.168.1.10?
While 192.168.1.10 is a reliable IP address, it’s not immune to issues. One common problem is IP conflicts, which occur when two devices are assigned the same IP. This can happen if both the router and a device are configured to use 192.168.1.10.
Another issue is connectivity problems, which can arise if the router’s settings are misconfigured. For example, if the subnet mask is incorrect, devices may not be able to communicate properly. Additionally, security vulnerabilities can occur if the IP is exposed to unauthorized users.
How to Prevent IP Conflicts with 192.168.1.10?
To avoid conflicts, ensure that only one device is assigned this IP at a time. You can also use DHCP reservations to automatically assign 192.168.1.10 to a specific device based on its MAC address.
How to Troubleshoot Problems Related to 192.168.1.10?
If you’re experiencing issues with 192.168.1.10, there are several steps you can take to troubleshoot. Start by checking the router’s configuration to ensure that the IP is assigned correctly. You can also use tools like ping or traceroute to test connectivity.
If the problem persists, consider resetting the router to its default settings and reconfiguring it. This can often resolve issues related to misconfiguration or conflicts.
What Tools Can Help You Diagnose Issues with 192.168.1.10?
- Ping: Tests connectivity to the IP address.
- Traceroute: Identifies the path data takes to reach the IP.
- Network scanners: Detect devices and their assigned IPs.