When it comes to maintaining a clean and functional kitchen, the importance of using the best kitchen caulk cannot be overstated. Whether you're sealing gaps around countertops, sinks, or backsplashes, the right caulk can make all the difference. Not only does it prevent water damage and mold growth, but it also enhances the overall aesthetic of your kitchen. However, with so many options available in the market, selecting the perfect caulk can feel overwhelming.
Choosing the best kitchen caulk involves understanding its key features, such as flexibility, durability, and resistance to moisture. Silicone-based caulks are often recommended for kitchens due to their waterproof properties and ability to withstand temperature fluctuations. Additionally, paintable acrylic latex caulks are ideal for areas that require a seamless finish. The right caulk can save you time and money by preventing costly repairs and ensuring your kitchen remains in pristine condition.
In this comprehensive guide, we’ll explore everything you need to know about selecting, applying, and maintaining the best kitchen caulk. From comparing top-rated products to providing expert tips, this article is designed to help you make an informed decision. So, whether you’re a DIY enthusiast or a homeowner looking to revamp your kitchen, you’ll find all the information you need to achieve professional-quality results.
Read also:Exploring The Origins When Was Legolas Born
Table of Contents
- What Makes the Best Kitchen Caulk?
- How to Choose the Right Caulk for Your Kitchen?
- Top-Rated Kitchen Caulk Products
- How to Apply Kitchen Caulk Like a Pro?
- Common Mistakes to Avoid When Using Caulk
- How to Maintain Your Kitchen Caulk for Longevity?
- Why Is Proper Sealing Important in Kitchens?
- FAQs About Best Kitchen Caulk
What Makes the Best Kitchen Caulk?
Not all caulks are created equal, and when it comes to kitchens, the stakes are higher. The best kitchen caulk must meet specific criteria to ensure it performs well in a high-moisture environment. For starters, it should have excellent adhesion properties to stick to various surfaces like tile, granite, stainless steel, and wood. This ensures that the seal remains intact even when exposed to frequent cleaning or accidental spills.
Another crucial factor is flexibility. Kitchens are subject to temperature changes, especially near stovetops and ovens. The best kitchen caulk should expand and contract without cracking, maintaining its integrity over time. Silicone caulks, for instance, are known for their elasticity and are often recommended for areas prone to movement or stress. Additionally, mold and mildew resistance are vital, as kitchens are humid environments where these issues can quickly arise.
Finally, the best kitchen caulk should be easy to apply and clean up. A smooth, consistent bead not only looks professional but also ensures better performance. Some caulks come with specialized applicator nozzles or are formulated to be paintable, offering added versatility. By considering these factors, you can ensure that your chosen caulk will stand the test of time and keep your kitchen looking its best.
How to Choose the Right Caulk for Your Kitchen?
Selecting the right caulk for your kitchen involves understanding the unique demands of the space and the specific application area. Different surfaces and conditions require different types of sealants, so it’s essential to evaluate your needs before making a purchase.
Understanding Different Types of Caulk
There are several types of caulk available, each with its own strengths and weaknesses. Here’s a breakdown of the most common options:
- Silicone Caulk: Known for its waterproof properties, silicone caulk is ideal for sealing areas exposed to water, such as sinks and backsplashes. It’s also highly flexible and resistant to mold, making it a top choice for kitchens.
- Acrylic Latex Caulk: This type is paintable and easy to clean up with water, making it perfect for visible areas like trim and baseboards. However, it’s not as durable as silicone and may not hold up well in wet environments.
- Polyurethane Caulk: Offering excellent adhesion and flexibility, polyurethane caulk is suitable for both indoor and outdoor use. It’s often used for sealing gaps around windows and doors but can also work well in kitchens.
- Hybrid Caulk: Combining the best features of silicone and acrylic latex, hybrid caulks are gaining popularity. They are paintable, flexible, and resistant to mold, making them a versatile option for various kitchen applications.
Key Features to Look for in a Kitchen Caulk
When evaluating caulks, consider the following features to ensure you’re choosing the best kitchen caulk for your needs:
Read also:
- Moisture Resistance: The caulk should be able to withstand constant exposure to water without breaking down.
- Adhesion Strength: It should bond well with different materials, including tile, metal, and wood.
- Mold and Mildew Resistance: Look for products that contain antimicrobial agents to prevent mold growth.
- Flexibility: The caulk should remain flexible to accommodate temperature changes and movement.
- Ease of Application: A smooth application process ensures a professional-looking finish.
Top-Rated Kitchen Caulk Products
With so many options on the market, it can be challenging to identify the best kitchen caulk for your needs. To help you narrow down your choices, we’ve compiled a list of top-rated products that have received rave reviews from both professionals and homeowners.
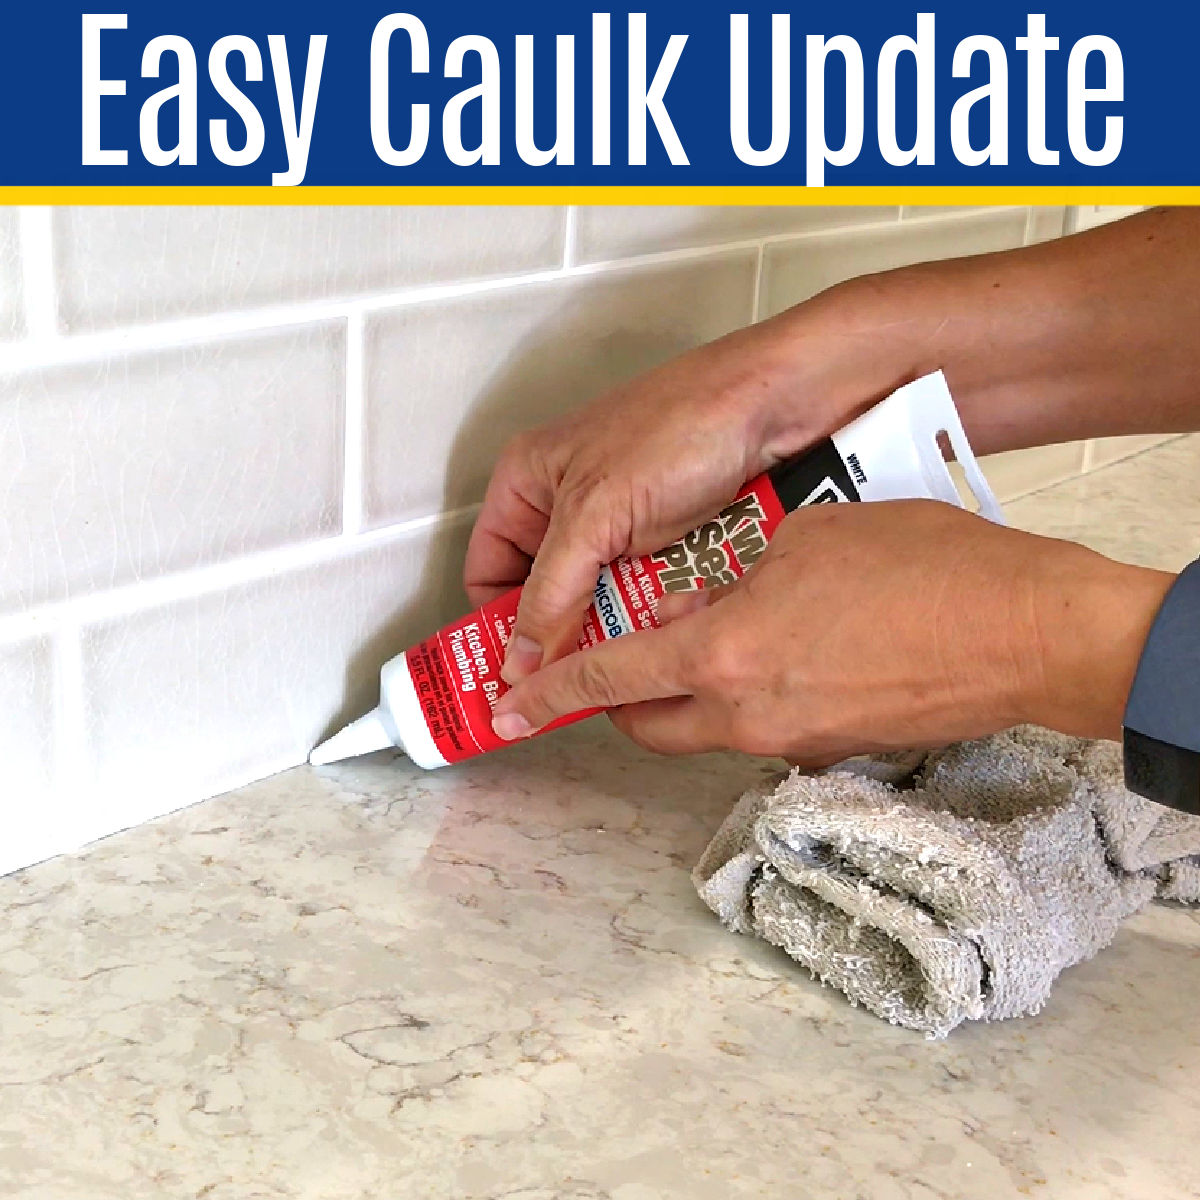
One standout option is the GE Silicone II Kitchen & Bath Caulk, which is specifically formulated for high-moisture environments. It offers excellent mold and mildew resistance and dries quickly, making it a favorite among DIY enthusiasts. Another popular choice is the DAP Kwik Seal Plus, known for its ease of application and strong adhesion properties. For those seeking a paintable option, the Alex Flex Advanced Sealant is a hybrid caulk that combines flexibility with the ability to be painted over.
When selecting a product, consider factors such as the size of the gap you’re sealing, the surface material, and your budget. Reading customer reviews and comparing product specifications can also provide valuable insights. By choosing a high-quality caulk, you can ensure that your kitchen remains both functional and visually appealing for years to come.
How to Apply Kitchen Caulk Like a Pro?
Applying caulk may seem straightforward, but achieving a professional-quality finish requires attention to detail and the right technique. Here’s a step-by-step guide to help you apply the best kitchen caulk with confidence.
Start by preparing the surface. Clean the area thoroughly to remove any dirt, grease, or old caulk. A clean surface ensures better adhesion and a smoother finish. Use a caulk remover tool or a utility knife to scrape away any existing sealant, and wipe the area with rubbing alcohol to disinfect and degrease.
Next, cut the nozzle of the caulk tube at a 45-degree angle to control the bead size. For smaller gaps, a narrower cut is ideal, while larger gaps may require a wider opening. Insert the tube into a caulk gun and apply steady pressure as you move along the seam. Hold the gun at a consistent angle and maintain a steady speed to create an even bead. Once applied, use a caulk smoothing tool or your finger (dipped in soapy water) to press the caulk into the gap and achieve a clean, uniform finish.
Common Mistakes to Avoid When Using Caulk
Even the best kitchen caulk can fail if it’s not applied correctly. Here are some common mistakes to avoid:
- Skipping Surface Preparation: Failing to clean the surface can lead to poor adhesion and premature failure.
- Using the Wrong Type of Caulk: Not all caulks are suitable for kitchens, so ensure you’re using a product designed for high-moisture environments.
- Applying Too Much or Too Little: Over-caulking can look messy, while under-caulking may not provide adequate sealing.
- Neglecting to Smooth the Bead: A rough or uneven bead not only looks unprofessional but can also compromise the seal.
How to Maintain Your Kitchen Caulk for Longevity?
Proper maintenance is key to extending the life of your kitchen caulk. Regular cleaning and inspections can help prevent issues before they escalate.
Start by wiping down caulked areas with a mild cleaner and a soft cloth. Avoid abrasive cleaners or scrub brushes, as they can damage the sealant. If you notice any signs of mold or mildew, treat the area with a solution of water and vinegar or a commercial mold remover. For stubborn stains, gently scrub with a toothbrush.
Periodically inspect the caulk for cracks, gaps, or peeling. Addressing these issues early can prevent water damage and costly repairs. If the caulk is beyond repair, remove it completely and reapply a fresh layer using the techniques outlined earlier.
Why Is Proper Sealing Important in Kitchens?
Proper sealing is essential for maintaining the functionality and aesthetics of your kitchen. Gaps and cracks can lead to water infiltration, which can cause structural damage and promote mold growth. By using the best kitchen caulk, you can create a watertight barrier that protects your surfaces and keeps your kitchen looking its best.
FAQs About Best Kitchen Caulk
What is the best kitchen caulk for high-moisture areas?
Silicone-based caulks are the best choice for high-moisture areas like sinks and backsplashes. They offer excellent waterproofing and mold resistance, ensuring long-lasting performance.
How often should kitchen caulk be replaced?
On average, kitchen caulk should be inspected annually and replaced every 5-10 years, depending on its condition and exposure to moisture.
Can I paint over kitchen caulk?
Yes, but only if you use a paintable caulk, such as acrylic latex or hybrid sealants. Silicone caulks are not paintable and should be used in areas where aesthetics are less of a concern.
In conclusion, selecting and applying the best kitchen caulk is a small yet significant step in maintaining a functional and visually appealing kitchen. By understanding the different types of caulk, avoiding common mistakes, and following proper maintenance practices, you can ensure your kitchen remains in top condition for years to come. For further reading, check out this guide on home improvement tips.